Subscribe to Our Newsletter
Sign up for our bi-weekly newsletter to learn about computer vision trends and insights.
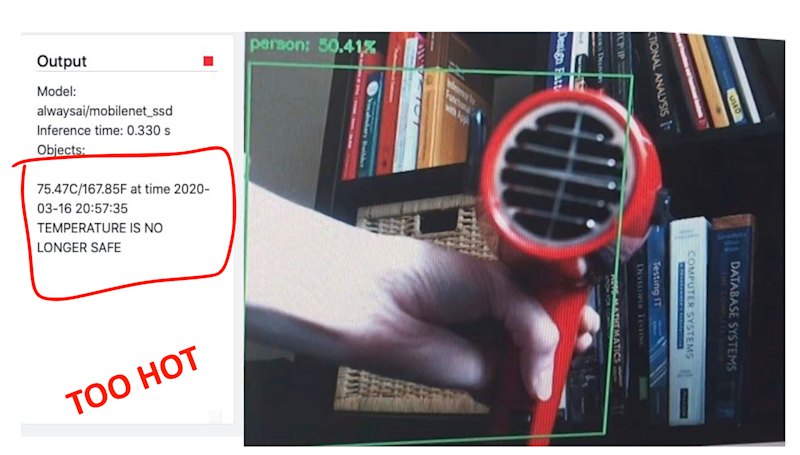
Tracking Raspberry Pi Internal Temperatures in Computer Vision Apps
by

Lila Mullany
Subscribe to Our Newsletter
Sign up for our bi-weekly newsletter to learn about computer vision trends and insights.
Lila Mullany
